
Image Comments posted by wailer
-
-

Don't know.
~Wailer
-
Top of the fuse BLADES. No "add a circuits" out there yet for micros that I know of. Sux!
~Wailer
-
Oh, and can you show me exactly what you bought for this LED and let me know where you found it? It's perfect!
I guess the doors are next, eh? ;>)
~Wailer
-
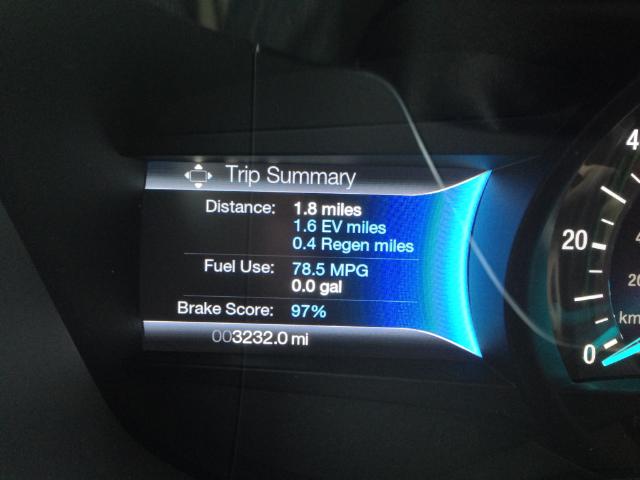
This is GREAT! Thanks! Can you IM the shot to me? I'm struggling to read the words here in the present resolution. Thanks again!
~Wailer
-
Sooooo, how did you get the wires to it?
~Wailer
-
Those look good. Can you provide a link to the LED's that you used?
~Wailer
-
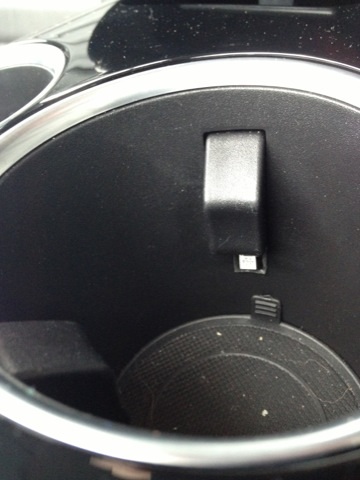
I actually bought some white LED strips and plan to put one below the second shelf where there is no light.!
~Wailer
-
Nice! I've been thinking about doing the doors too. How'd you do the cup holders?
~Wailer
-
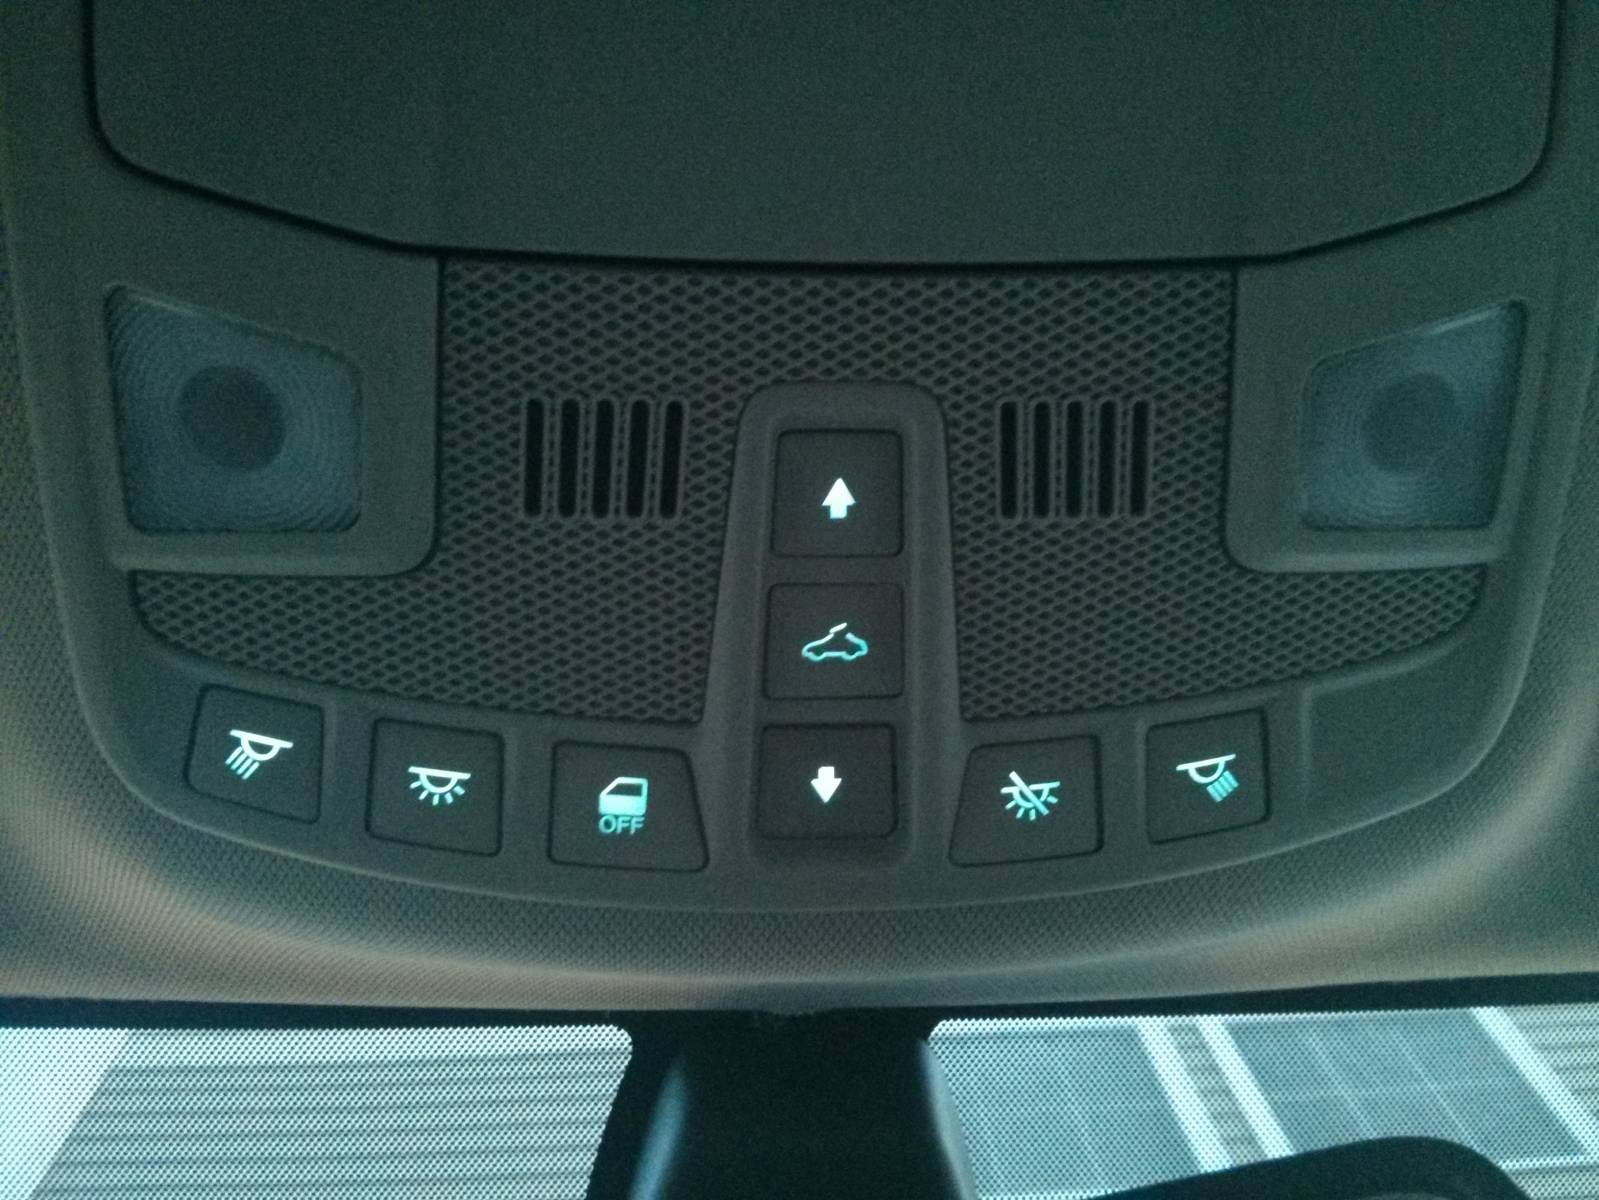
Wow! I would have preferred REAL buttons! I can't count how many times I look up to find I've brushed a light button and it's on!
-
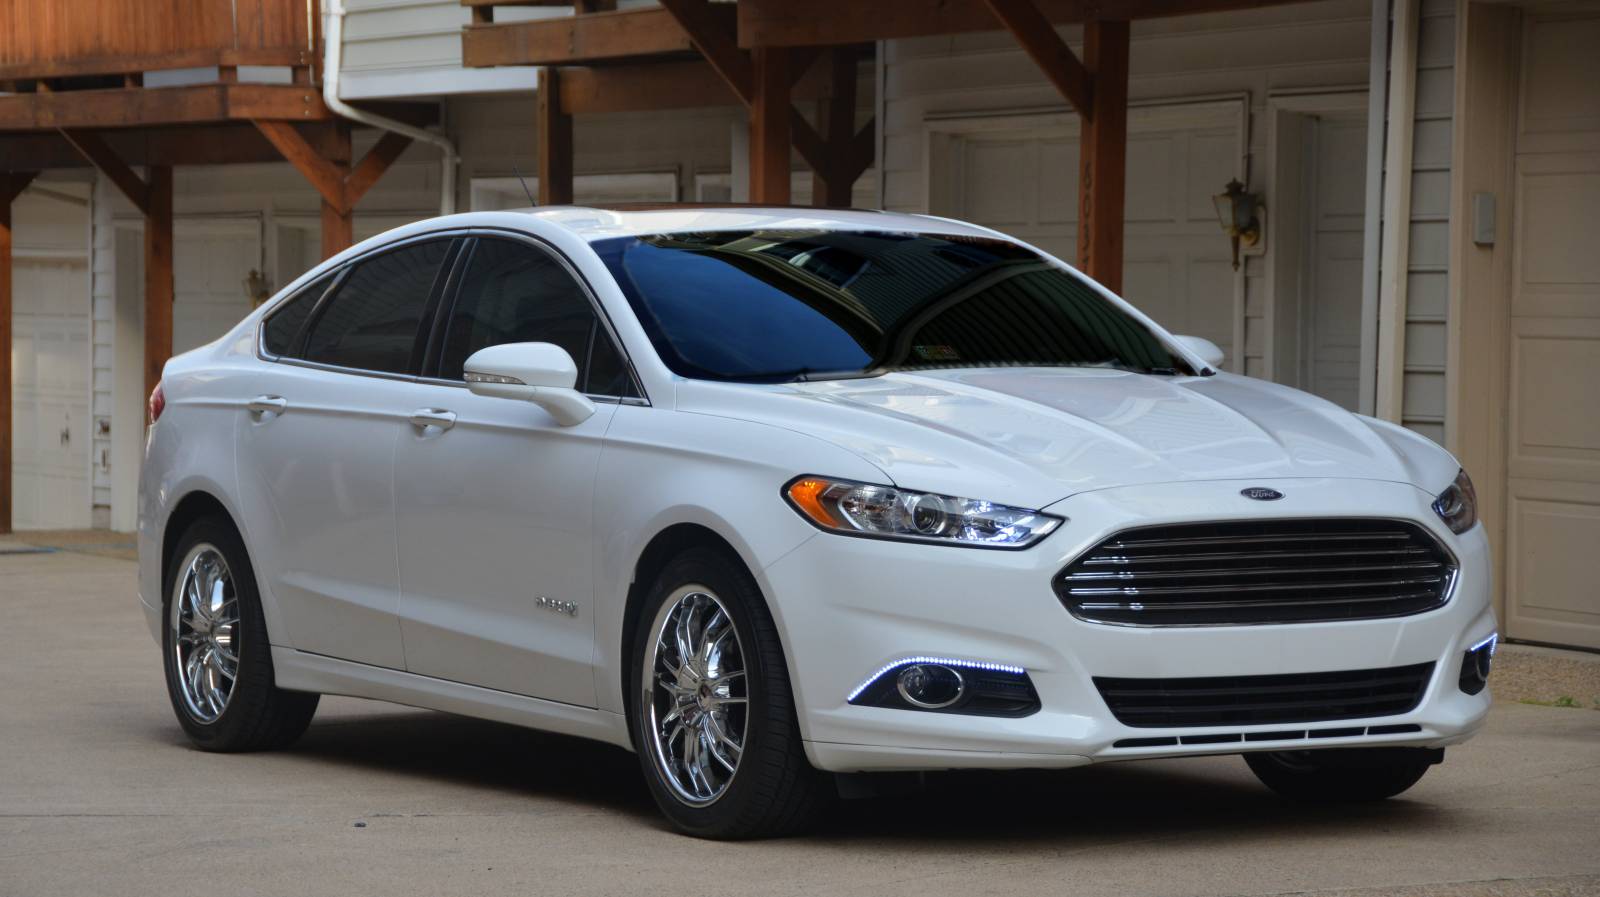
HID is next!
~Wailer
-
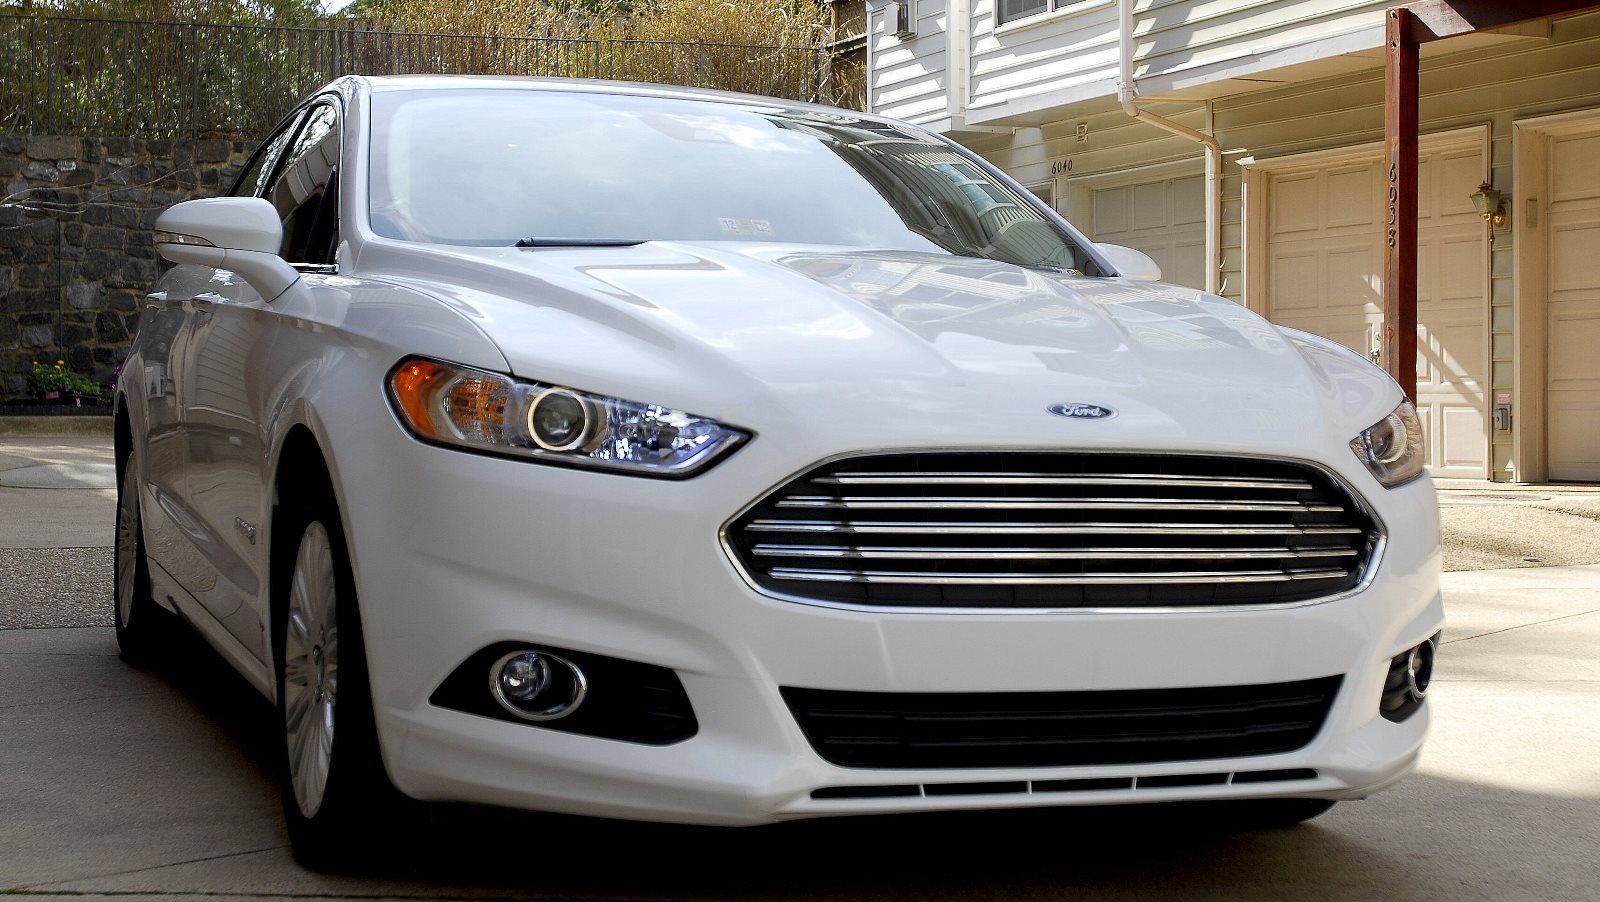
Actually, the photos make it appear brighter than it actually is. It hasn't been any issue, even at night.
~Wailer
-
Was your wife or girlfriend outside pushing? ;>)
~Wailer
-
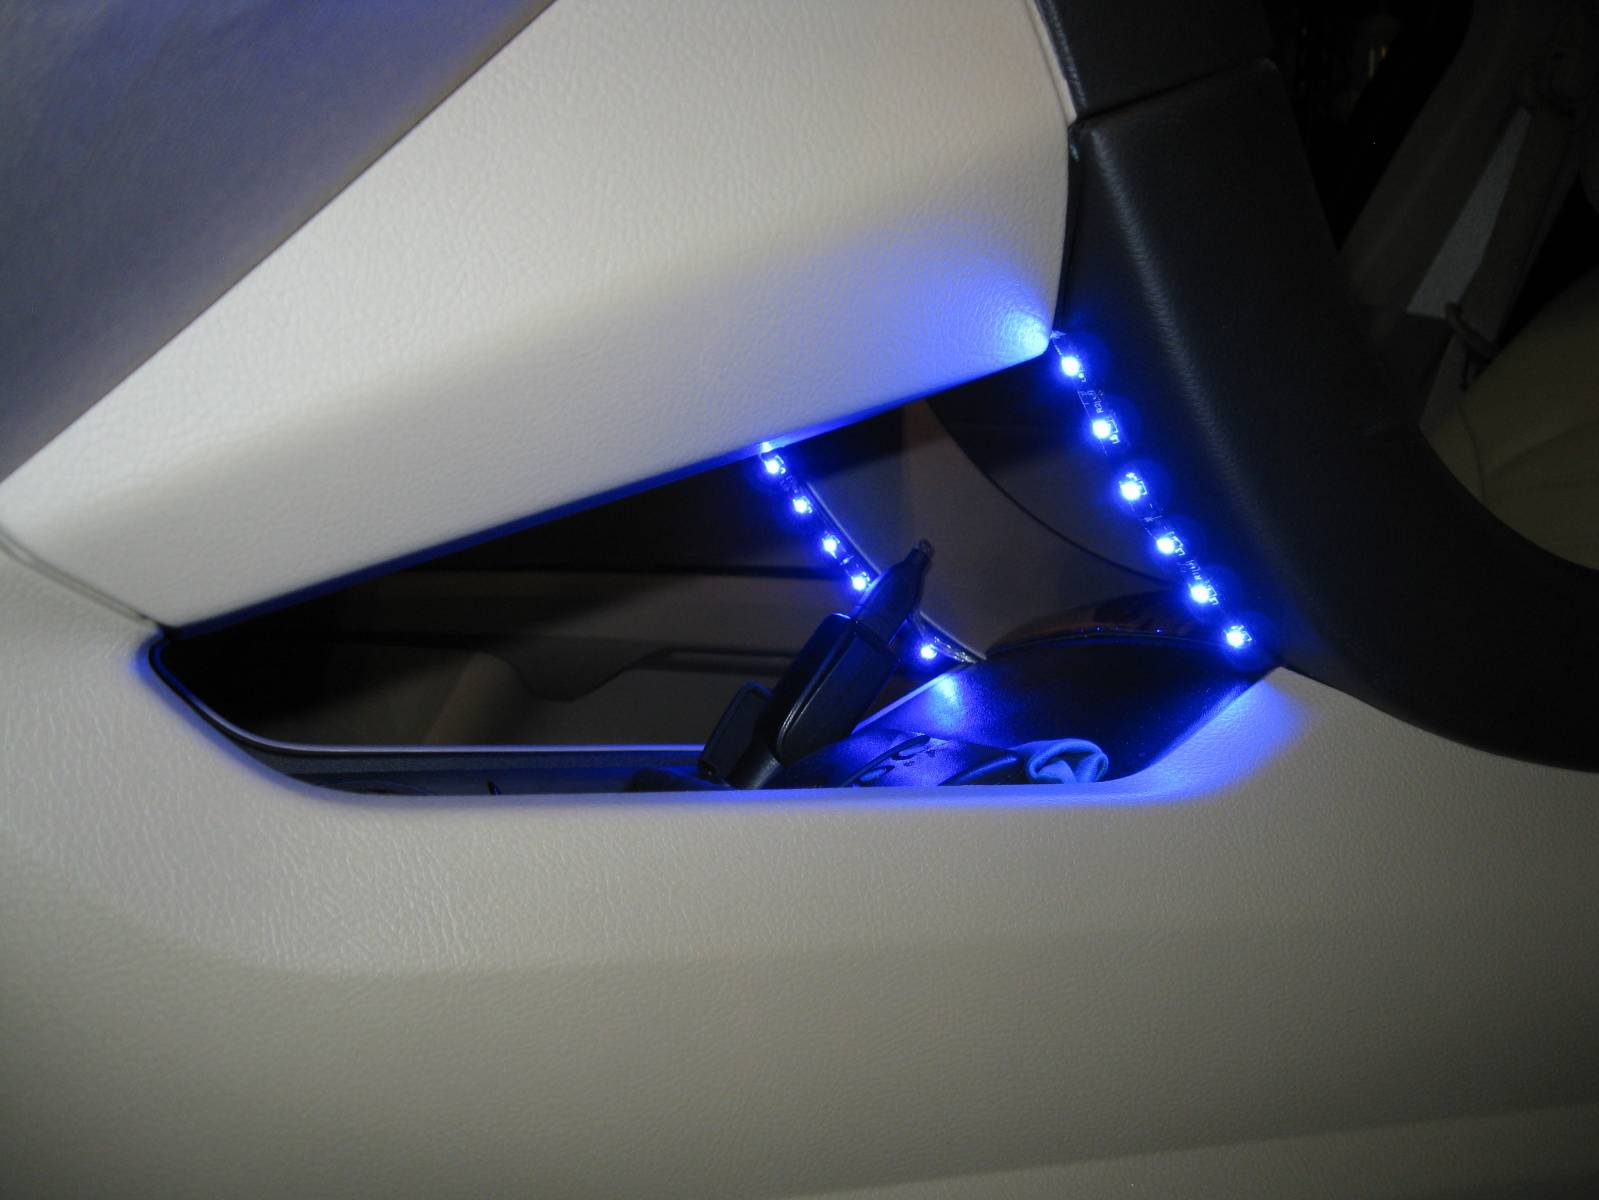
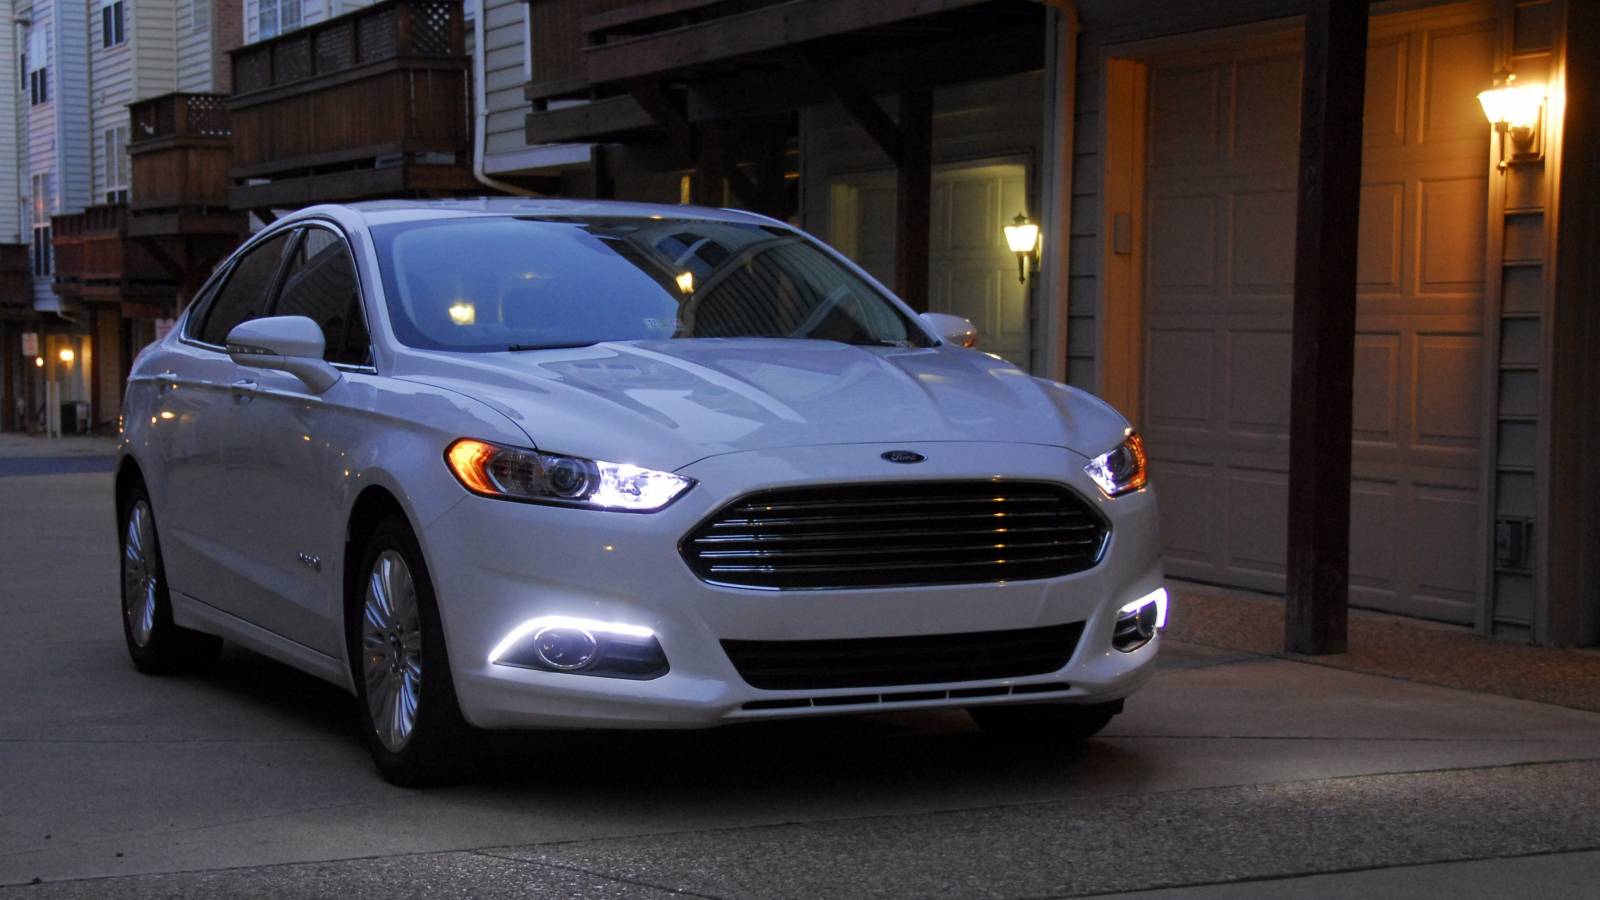
I got the lights here:
Be careful to be explicit about the length you order. I believe I ordered a pair of 21" lengths, and ended up cutting off the last six LED's from each. It took about 3-4 weeks for them to get here from China! But the price was right!
These are the best I have found for automotive use as they are entirely encased in a rubberized silicone. VERY flexible and durable. In fact they are pretty much bullet proof compared to others that I've tried. The base is square which makes it convenient to mount them. They can be cut to size every 3 LED's (place a dab of silicone over the cut). I glued them to the upper lip that hangs out above the fog lights with clear silicone (tubes available at any automotive store), although a strong quality 3M double sided automotive tape would work. Silicone is easier to remove if you want to change things. I actually drove straight pins into the black plastic with a pair of needle nose pliers underneath the lights to hold them in place while the silicone dried. I decided to leave them as added support when driving over the bumps, since you can't see them!
I didn't do the opposite "inverted L" as the light strip add on would be more visible when parked with the lights off. If you want to make them blend in further when off, paint the area between each LED flat black (but not the base that will see the adhesive), and they will virtually disappear and look stock. The downside I have found to doing this is that it limits the light output slightly. These are "noticeable" but not "Audi Bright" in bright sun. They really come into their own on overcast days or at twilight and into night.
I pulled the bumper (directions from a Ford PDF for changing grills is on this forum somewhere), and pulled the housing for the parking light that I also changed to LED. I tapped into the wiring going to that light (positive to positive/neg to neg - make sure to test before buttoning it all back up. If they don't come on, reverse your wires. Recommend solder your connections and heat shrink them). These LED's pretty well match the 5-6000K parking LED, and will match the low beams and fogs once I convert them to HID with the same range bulbs. I did this on my Porsche, and the results were impressive. All lighting up front then matched!
The LED's will throw no dash codes as they use so little power.
~Wailer
hybridbear reacted to this -
Clear Bra of Northern VA (aka Detail Authority). See: http://www.clearbraofva.com/ . Randy is a super nice guy (owner) and came to the house in his mobile van and did it in my garage. Used 3M Ventureshield Kit which is less likely to leave stretch marks as it is applied. $695 for the Standard 24" (up the hood) Kit. Included the bumper, 24" of the hood, fenders mirrors and door edges. He also performed a quick paintless dent removal on my wife's Lexus for $75 since he was already on site. I felt it was a great job, since a Porsche dealer charged me $800 on my Cayman and it was less than perfect. This guy knows exactly what he's doing and has a lot of experience. If you're in the DC area I highly recommend him. The Ventureshield film is a winner too! You have to be within 3 feet of the hood to find the edge of the film. He can treat head lights with it too for a charge.
-
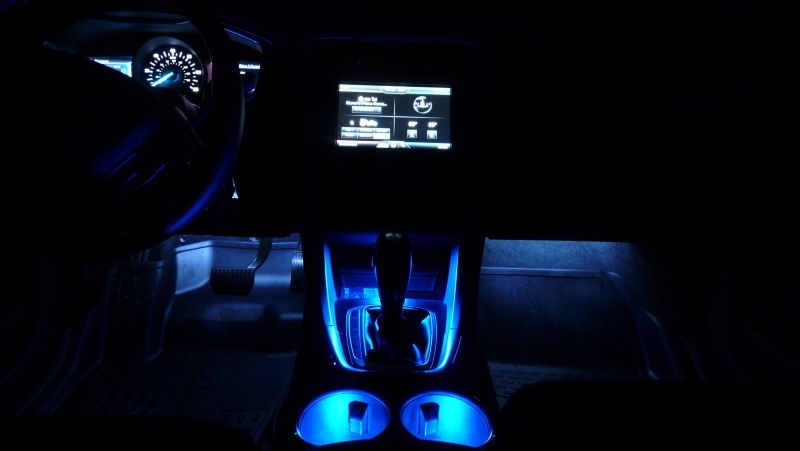
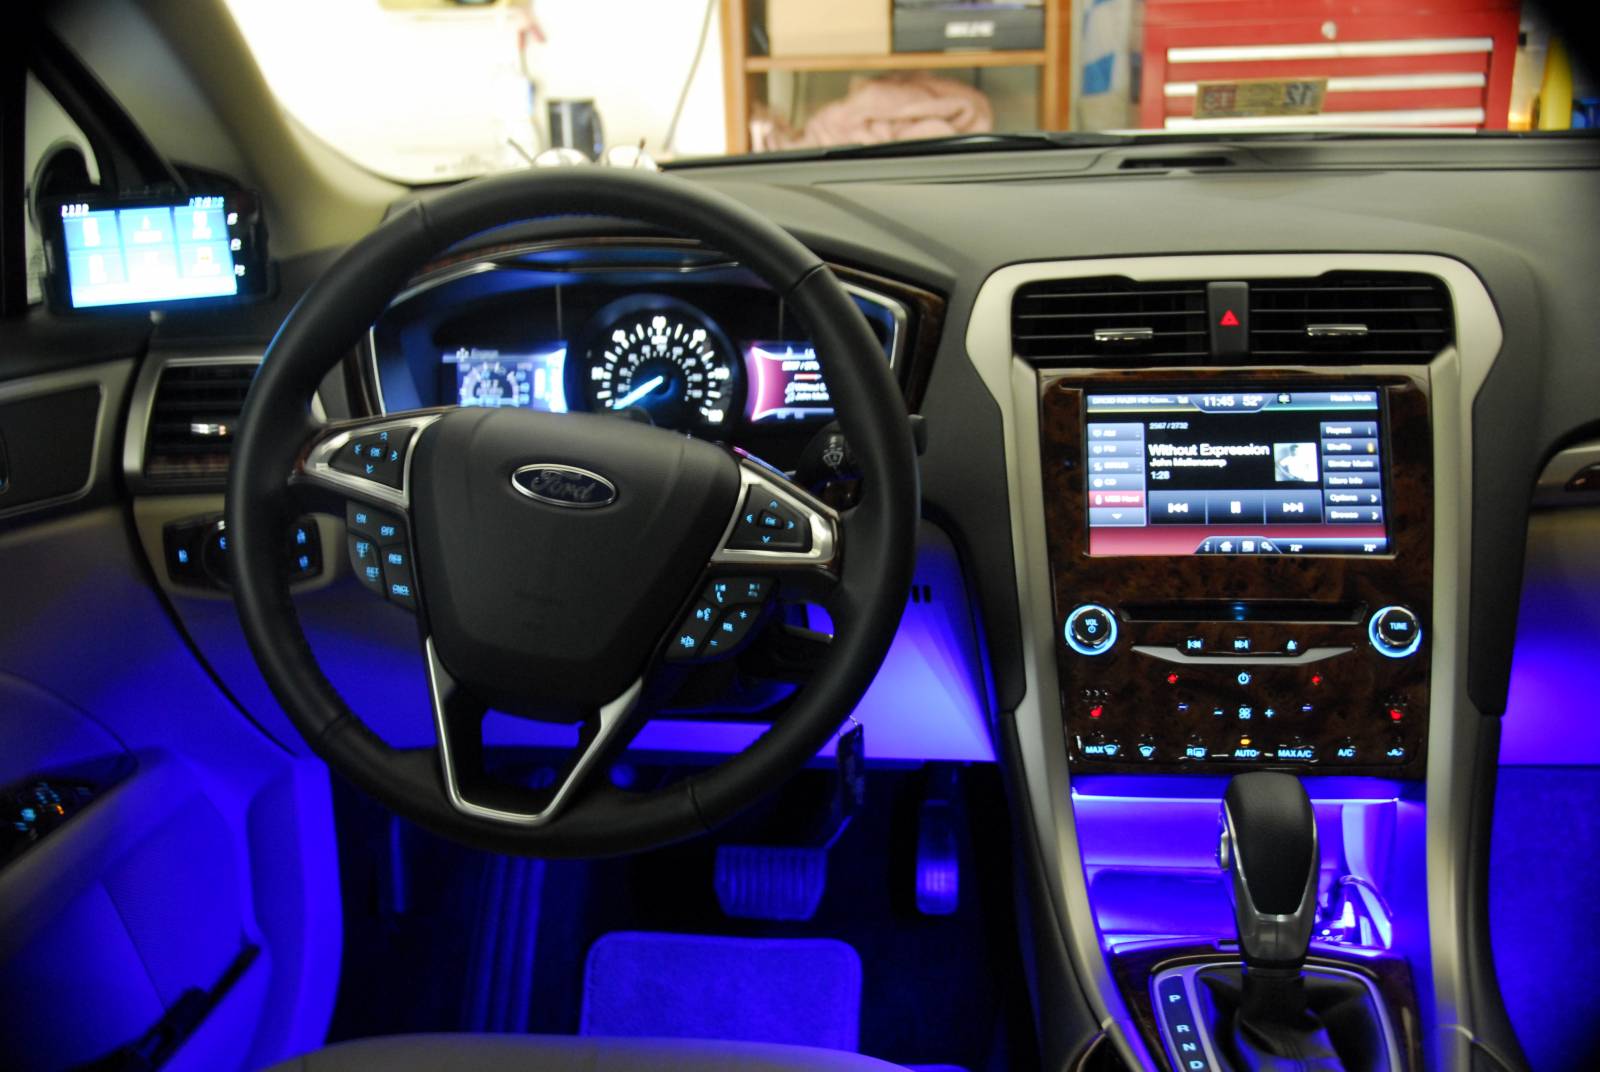
LOL! :hysterical: Super EASY to do! Seven bucks for the two 4" strips of LED's at Pep Boys! Pull the kick plate on the driver side of the console (use some panel pulling tools for leverage and towels underneath them so you don't scratch anything. The rubberized plastic panel pulling tools are cheap at your automotive store. From there just find a wire that is hot when the car is on and wire positive to positive and negative to negative. Easy as that! :)
~Wailer
aaronj1159 reacted to this -
Cool! I want one . . . well two actually! One for the front, and one for the back! Nice photoshoppin!
~Wailer


Fuse box
in Member's Gallery
Posted · Report reply
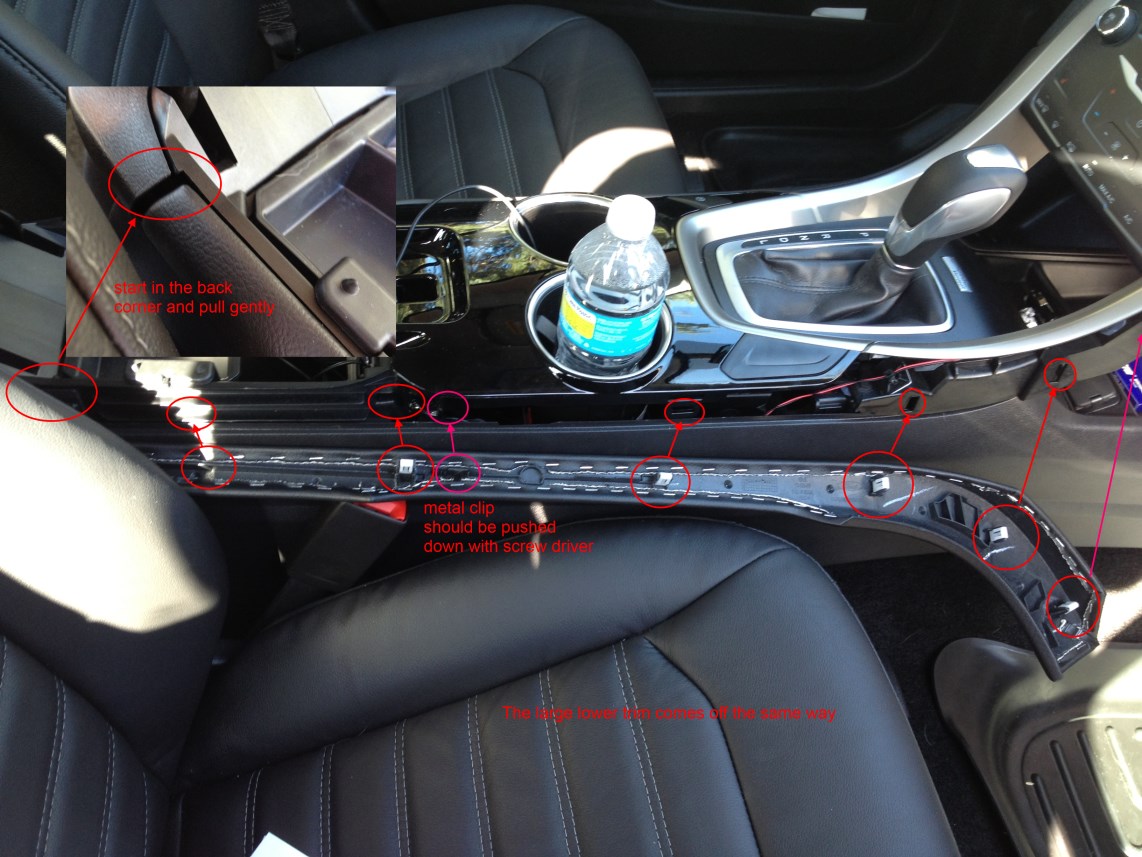
Look under the driver's side dash. You have to get on your back and look WAAAAAAY up near the top. I'm not sure why Ford felt compelled to put them in such a difficult place to reach. Also they are micro fuses that are difficult to handle and to find at automotive stores. The fuse box is grey, and it is NOT detachable.
Don't get me started at what it takes to replace a headlight bulb in these cars! You have to loosen the front bumper!!! Ford has gone out of their way to ensure their service departments stay busy!