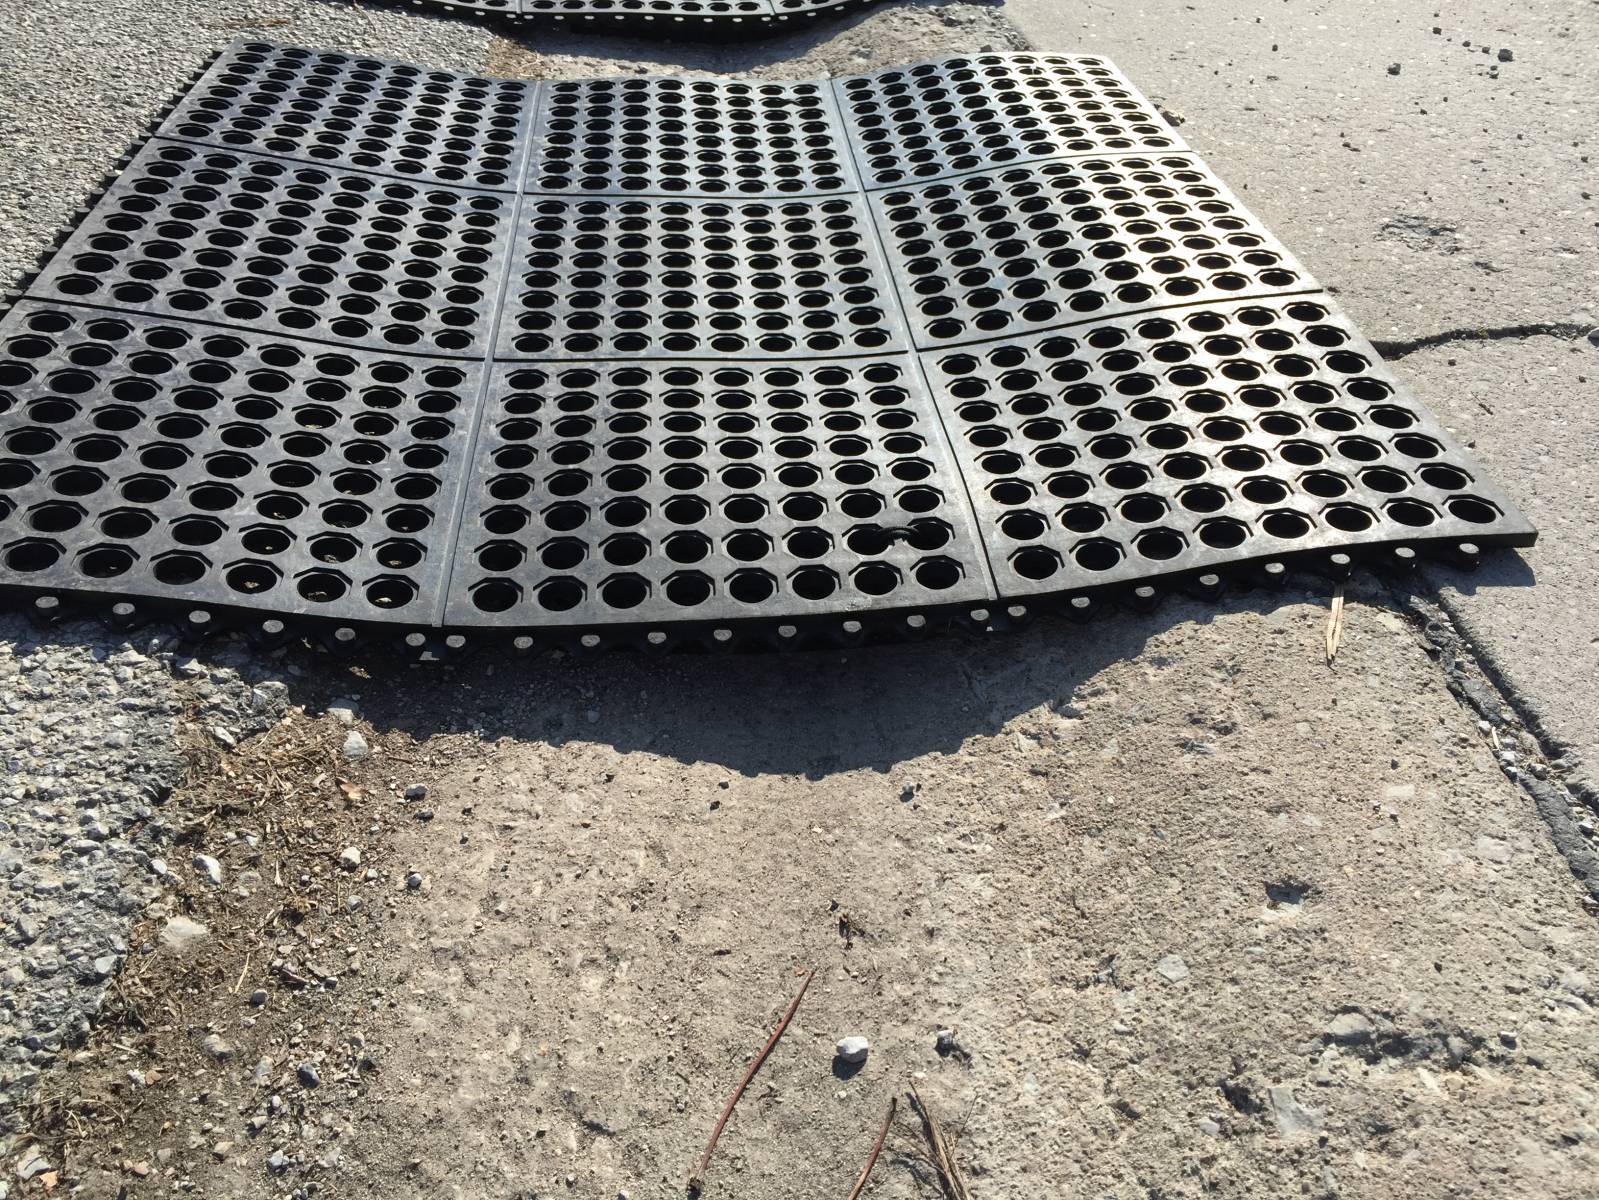
DIY Curb Ramp
80 bucks well spent at Lowes...
Interlocking rubber perforated matting, then underneath, there are 2 more rubber pieces with diagonal slanted grooves, with about a 2 1/2 inch overlay in a step formation (to adjust for angle of the curb dip)...then holes drilled evenly and held together with braided P-Chord underneath. (for 3 of them cost would have been 120 bux.... (350+ had I gone with the "professional curb ramps") -
They work very well, and i have them lined up where i hit them perfectly based on the hood joint line to the quarter panel on the drivers side. These worked out better than even I could have hoped, they have decent weight to them, did NOT float away during our last down pour, and because they're "channeled" they let water pass nicely.


Recommended Comments
There are no comments to display.
Join the conversation
You can post now and register later. If you have an account, sign in now to post with your account.
Note: Your post will require moderator approval before it will be visible.