Search the Community
Showing results for tags 'LED'.
Found 8 results
-
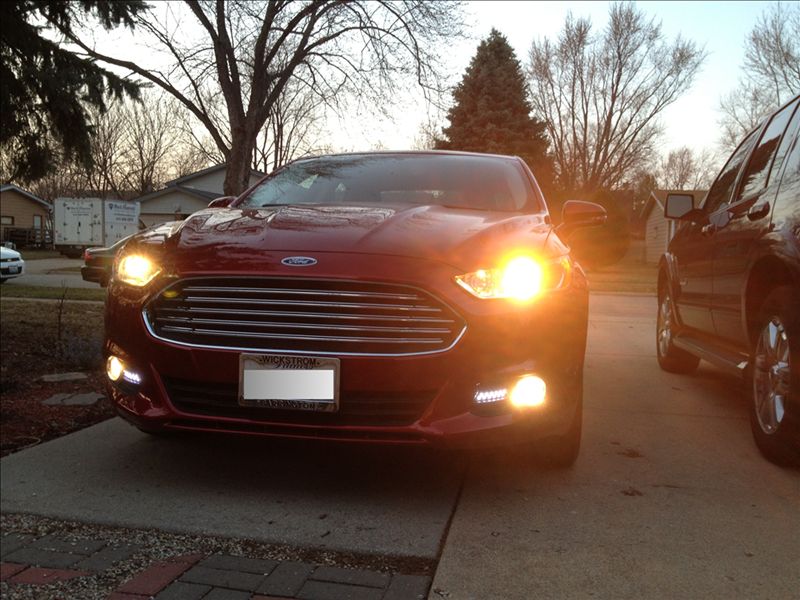
CURSE THIS PICTURE POSTING LIMIT, sorry upset at loosing most of my write up after fixing it all to pic qty limitations ill try again tomorrow but second half is there. Before After Thanks to these guys! Having seen the nice cool white illuminating the road of other cars passing by I wanted the same, and a brighter light! I became attached to the concept of LED's due to lifespan and lower power consumption as well as the temperature of light they put out. I chose the above model because it has no moving parts or in other words no fan to go bad over time. Also they are really simple to install no worries of ballast or relays, running extra wires around. Simply plug and play. (Turned out I needed to plug and play a resistor in there but still not bad its just click the led to resistor and resistor to harness) Tools · T25 torx driver · Flat head screw driver · Hex head screw driver/socket (size ) · Drill · Drill Bits Parts · H11 Bulb, I used THIS fan-less LED model 30w · 6ohm 50 watt Resistor harness I used THIS · Thermal Grease *optional · Sheet metal screws Okay now my Issue (SOLVED) After contact with manufacture and some electrical engineers one of which used to work for ford, confirmed and tested working all I needed was a resistor in there to trick the car into thinking the light is there basically because the led light dosnt pull enough itself Write-up Comp is being stupid and not letting me upload pics. I promise they are coming. Step 1 Remove the bumper: Alot of other tidbits on this elsewhere but figured I would cover it as well. Pop the hood and Remove these screws And these pushpins In each wheel well there are these three twist pushpins, unscrew and pull out Now look under the car remove these hex screws and 2 twist pushpins on each side, unscrew and pull out Now you can remove the bumper starting here pull out near this seam once it pops out do the same on the other side Now pull bumper outi set mine on some timbers so it wouldn’t just hang on the wire harness else you can undo all the wire harness just make sure to remember to re-hitch them all back up. Now you have access to the headlight assemblies!
-
The LED fog lights that came with our FFH are great but I think they may be aimed a tab bit too low. The cutoff line appears to be 10-15 feet in front of the bumper. I'd like to adjust them to have the cut off go further, maybe 25-35 feet in front to better cover the area that the headlights don't illuminate. has anyone adjusted the LED fogs and is it as simple as an adjustment screw? Thanks.
-
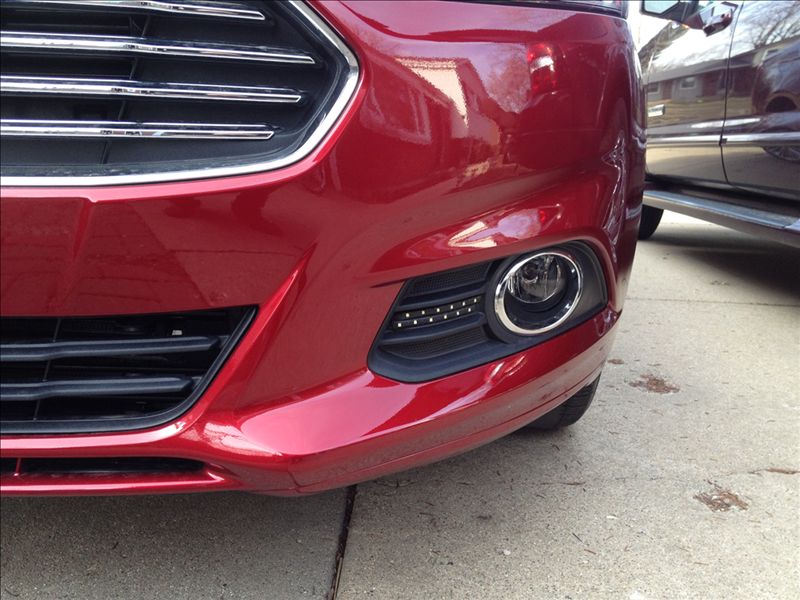
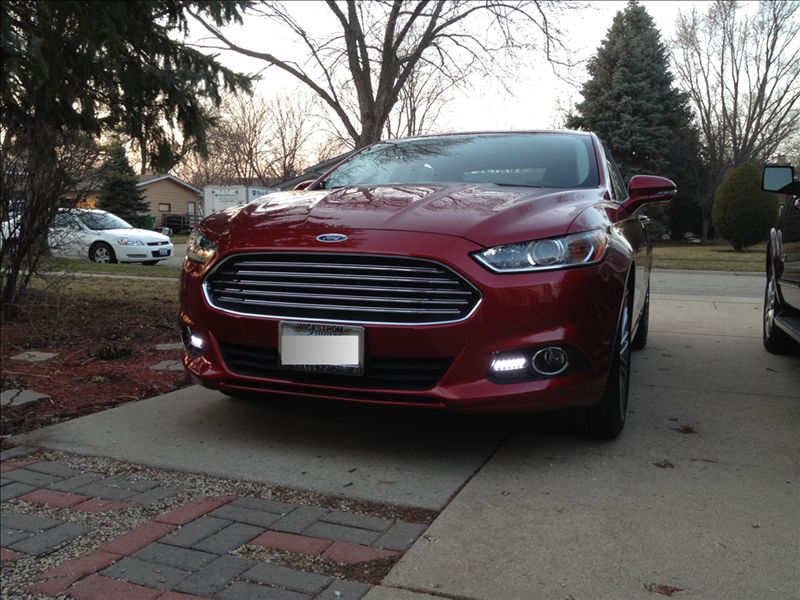
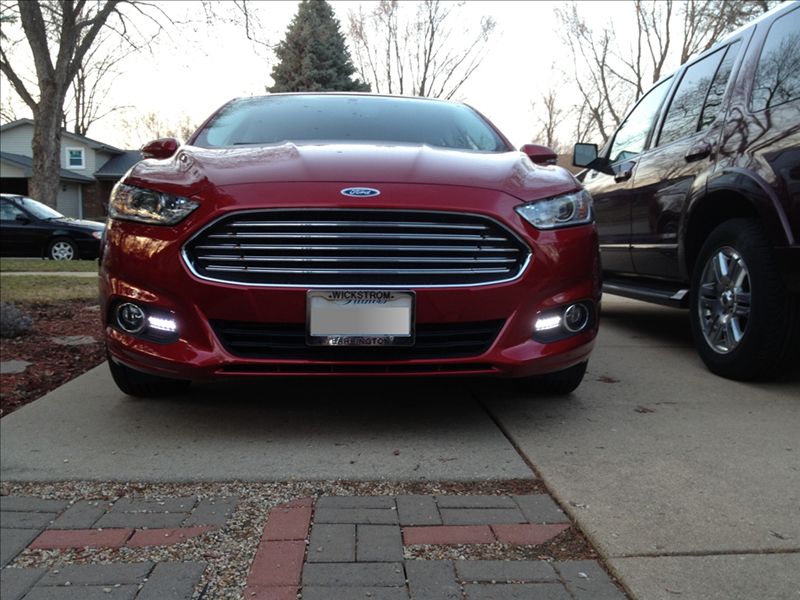
I got brave today and removed the LED strip which I had attached to body line running over the fog light assembly and added new once right “into” the fog light opening. To run the wires I had to cut small slots into the plastic which was too bad. If the 3M tape doesn’t hold up with the elements it would be a bit costly since those black trim pieces are about $65 a piece. I'm was also thinking I could add a piece of acrylic over the middle section nicely shaped and bend should be good and keeps the elements out. I'm a lot happier now, I like the old location too but I didn't like the blue tint of the “old” side emitting LEDs You can be the judge ... I also added a few more picture to my gallery.
-
From the album: Lady in Red
As I had stated I didn't like the blue tint of the "old" LED DRLs so I removed them and added new white forward faceing once in the center strip of the fog light cover. -
From the album: Splendida Futuris (Bright Future)
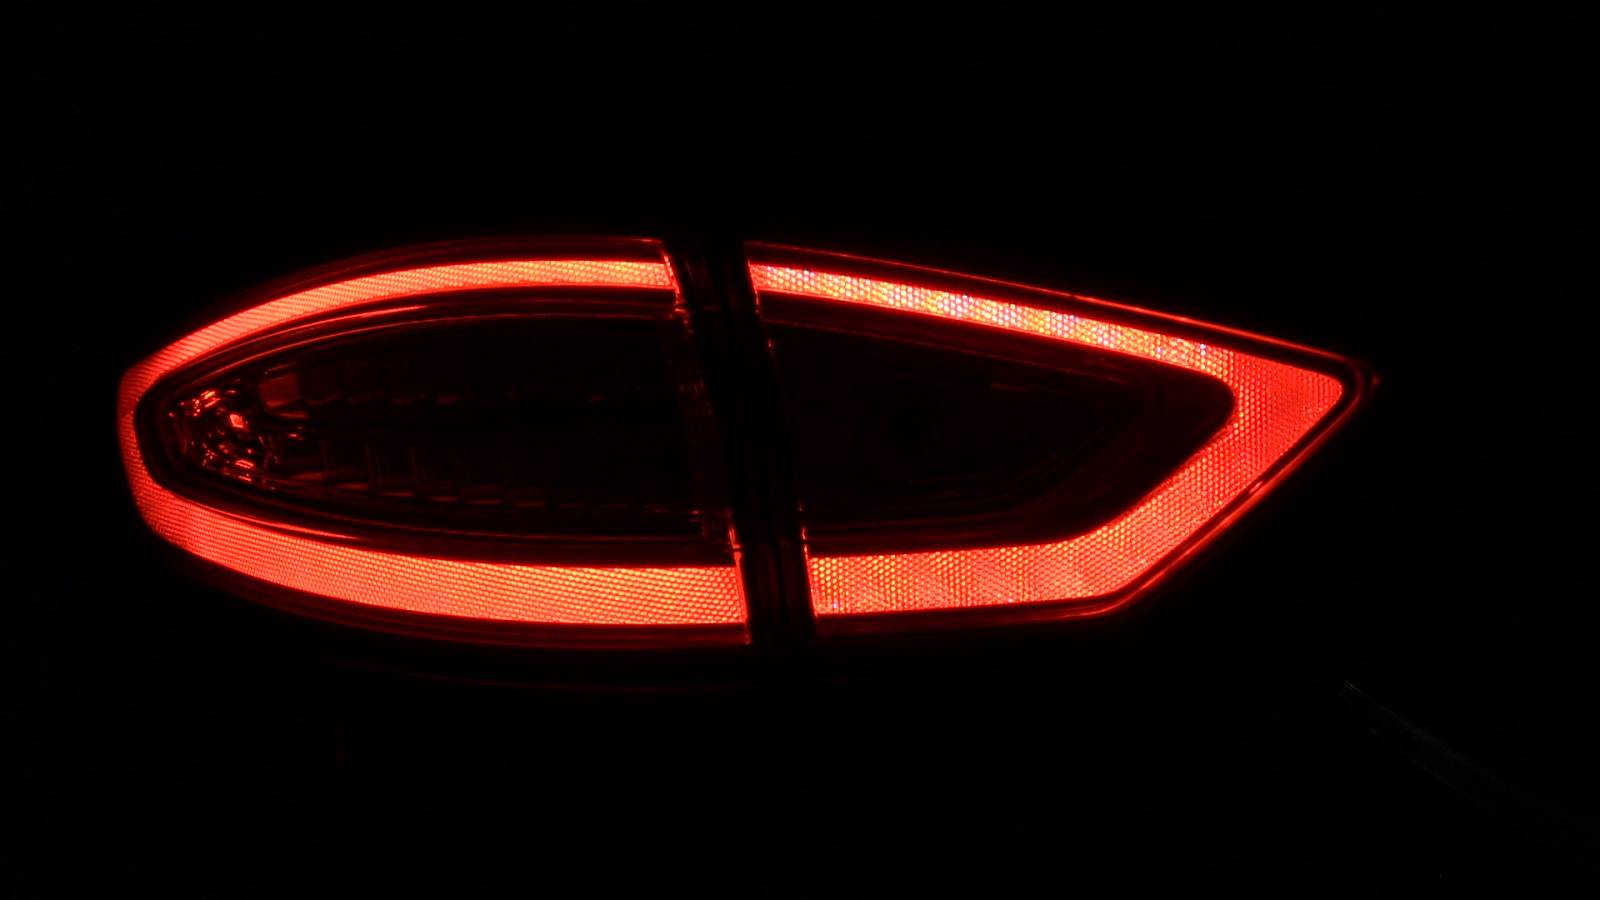
The tail lights on the Titanium trim package are outlines with LEDs which make rear visibility easy in a variety of conditions.© combs 2013
-
- LED
- tail lights
-
(and 1 more)
Tagged with:
-
From the album: Lady in Red
I think it fits better with the overall look you be the judge. -
From the album: Lady in Red
-
From the album: Lady in Red
They are short 6 LEDs each and they are offset to each other to have a better more even light distribution from a distance.


